***Just a reminder, the giveaway for the 3-piece nativity set is still going on, and there are a few full copies of the nativity template left and you can now purchase the full template in my brand new Etsy shop. Be sure to leave a comment on that post to get a chance to win and to get your free template.***
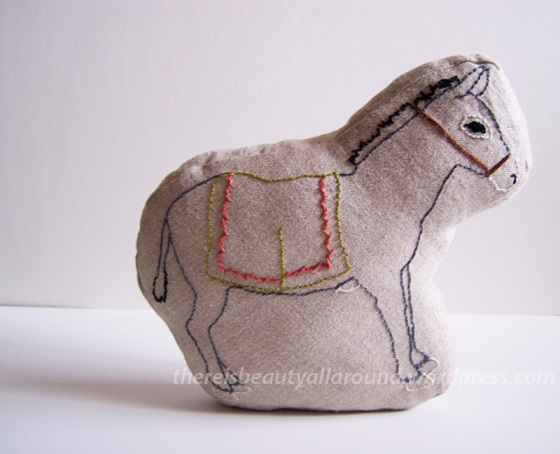
So, you’ve got your Nativity template, and you’ve been happily stitching away, and now you want to make those little guys into fabric block animals (like wood block animals cut out with a jig saw). Well, it’s a pretty simple process, so for all you seasoned sewers out there, just scroll down to admire the finished product. But if you’re like me, still feeling my way around the sewing thing, then you might want a quick tutorial to get you on track.
First things first, I got a question a little while ago about what kind of fabric I used, and my answer is a medium weight 100% natural colored linen from Joann’s. Nothing special (but if I had unlimited resources, I would have liked a nice, expensive, made specifically for embroidery linen). I also think a good cotton (Kona is my preferred choice) would work perfectly well, too.
- Once you have your image embroidered, you are going to want to remove any marks you may have used to create the pattern, then iron your piece flat (I use a scrap of muslin when I iron my embroidery to protect it).
- Then lightly trace an outline about 3/4th’s of an inch around your piece. I like to keep my border fairly well-rounded, because tight curves are much harder to sew (maybe that’s just me, though).
- Cut around this traced line. You can use a good, sharp pair of scissors, or lay your fabric down on a self-healing mat and then carefully cut around it with a small rotary cutter.
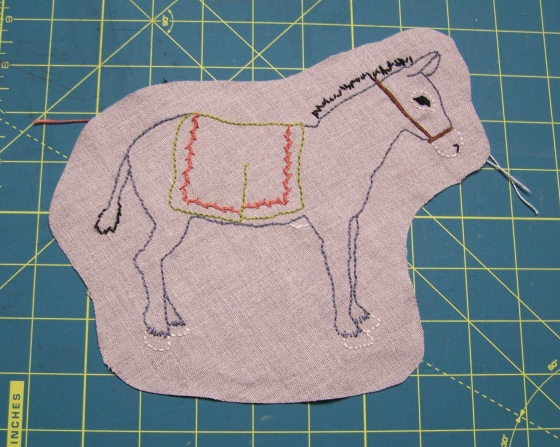
- Lay your cut-out piece on top of your back embroidered piece, or just on another piece of fabric if you don’t want your block to be double sided, right sides together. Make sure to line up the two designs as closely as possible ( I feel for the “ridges” made by the embroidery).
- Trace the outline on your back piece of fabric and cut it out. If you are using a rotary cutter, you can skip the tracing step, and just follow the outline of your top piece as you cut out the back.
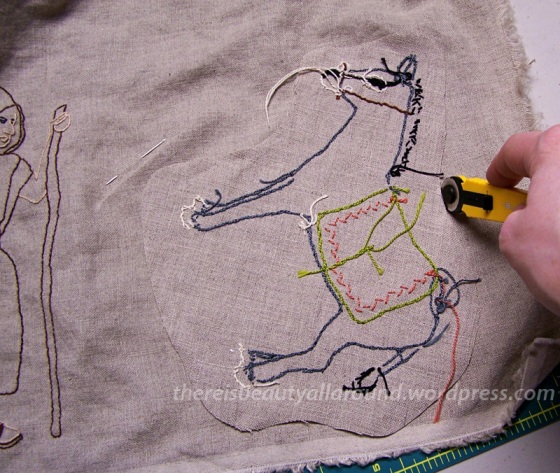
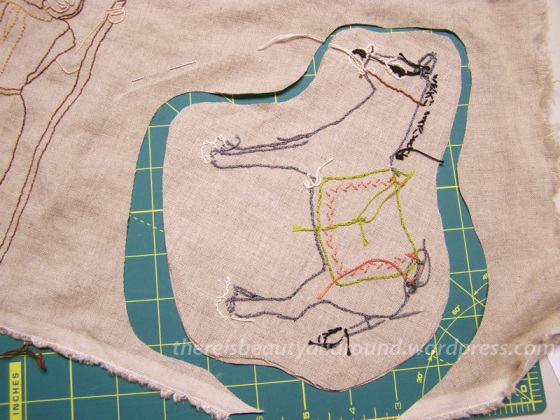
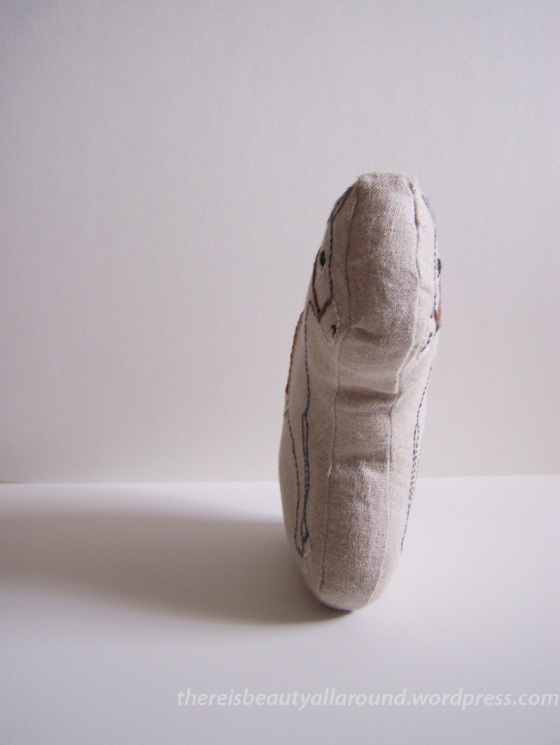
- Cut a long strip of fabric, making it the width you want your finished block to be, plus a 1/4 inch seam allowance on both sides. The length will vary depending on which figure you are sewing, but you’ll probably need at least 18 inches, to be safe.
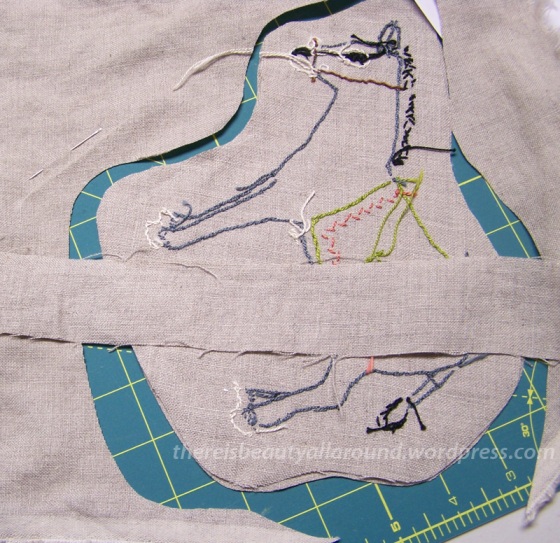
- Sew the long strip all along the right-side edge of one side of your piece.
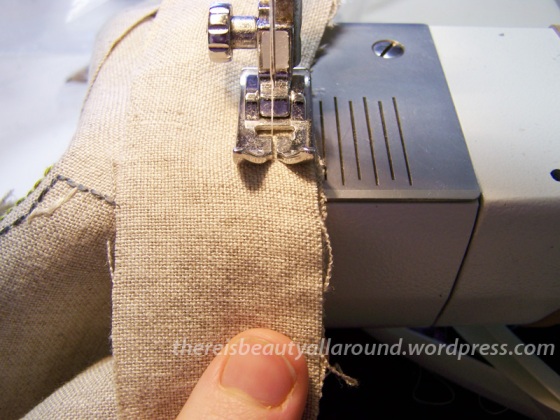
You can pin it if you wish, but I found it easier to just manipulate the fabric around as I went.
Leave at least a 1-inch tail at the beginning and end of the strip, and leave a slight gap between the beginning and end of your stitching so you’ll have enough room to turn it out later.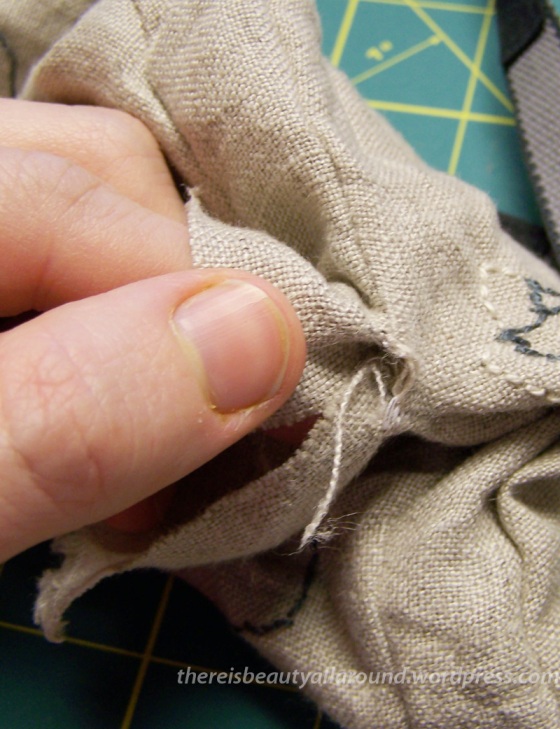
(I didn’t leave extra room, so my fabric tore a little when I turned it out. p.s. I didn’t mean this to be a close-up of my pomegranate-stained finger. Sorry about that!) - Pin you other side to the edge of your strip, with the right side facing in. You’ll want to make sure you’re laying over the other side in mirror position so the sides will be straight look right (sorry if that’s a little confusing. I couldn’t figure out a better way to word it, so just look at the picture.)
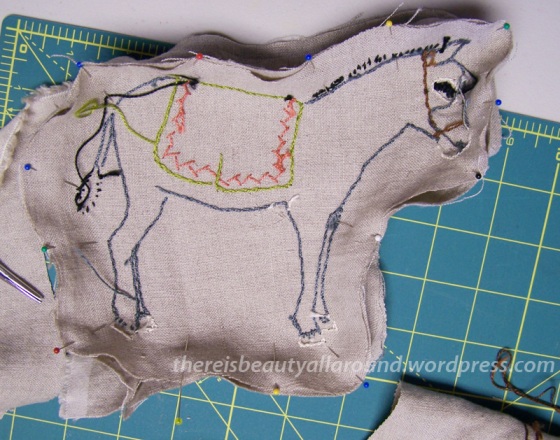
- Sew all along the edge, with a 1/4-inch seam allowance. Your stitching will be parallel to your previous stitching along the side strip.
- Turn your piece out. If you are using hemostats or any pinging implement, try not to grab your embroidery, go for a blank piece of fabric.
- Stuff your piece with little pieces of poly fill, wool, or cotton. I like to stuff mine pretty firmly.
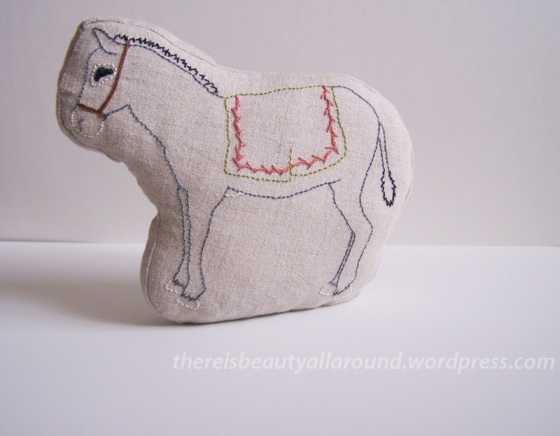
- Leave a little room in the bottom to pack in your weighting implement. This can be a few fishing weights, some beans, rice, or anything heavy, small, and nonperishable. If you want, you can sew a narrow weight “pouch” out of a scrap piece of the side strip and fill it with your weighting device, then stuff the pouch into the bottom your piece; this method helps keep all the weights at the bottom. Something to keep in mind: the bigger your piece, the more weight you’ll want right at the bottom to keep it upright. I didn’t get quite enough weight in my donkey to keep it really stable, so it’s a little wobbly, but it works.
- Once you have your weight inside, sew up the opening with a ladder stitch (see my tangram tutorial for an example of that—I think I called it slip stitch there, or just google it).
You may have to smoosh it around a bit to get it to sit right.

I love this! We homeschool our children, and have recently started sewing, stitching, etc projects. I have been thinking about and looking for a project that we would have around for years that would be something important to us. Something that they would enjoy putting forth the effort for and completing. This looks like the perfect idea! We all LOVE Christmas and what it stands for. This would be something that we could use as a focal point, not just for our family, but anyone who came thru our door. Thank you so much for sharing this post, we are definitely interested in the templates! 🙂
Thanks for the tutorial! I am looking forward to making a trip into the city to pick up the fabric for these and getting started. Probably not going to make it this year, but my son is only 11 months, so probably better to be done for next year anyways. Congrats on the etsy shop!
These are so cute! Thanks for sharing this tutorial!
What a special project!
I’m over from Feeling Stitchy.
This little delicately stitched part of your nativity set project is so beautiful. And what a lovely tutorial. So happy to have happened upon you and your creations here!
Thank you. I’m glad you stopped by too!
This is a great tutorial! I’ve been wanting to make a set of Christmas trees and animals for my sister and sister-in-law – didn’t think about a nativity (would have had to start earlier – maybe for next year!) and hadn’t been able to figure out how to get them to stand correctly. Thank you! Now I need to check out your etsy shop. 🙂