Felt Hobby Horse

IMG_6430So, I am here. Really. I’ve just been taking a loooong off-screen break. I guess I just needed it. But with the new year, naturally I thought I might be a good time for a blog reboot. A just over year ago I was frantically packing my bags down to the last ounce to prepare to head back to Galapagos.

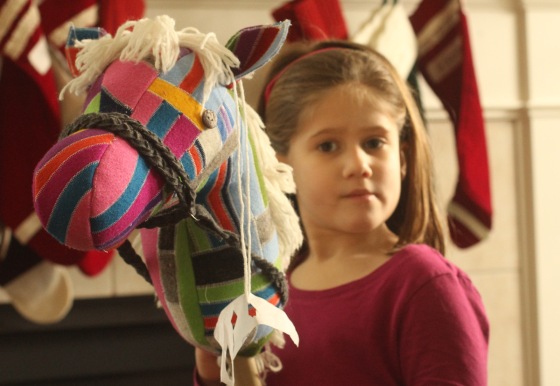
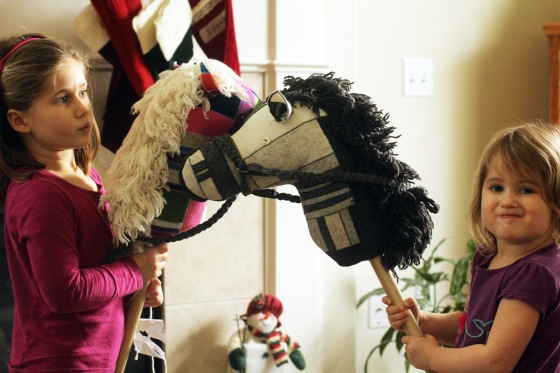
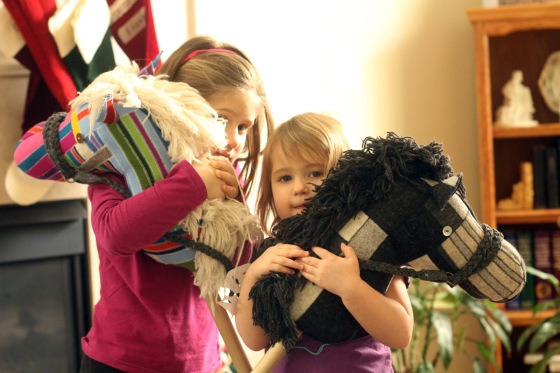
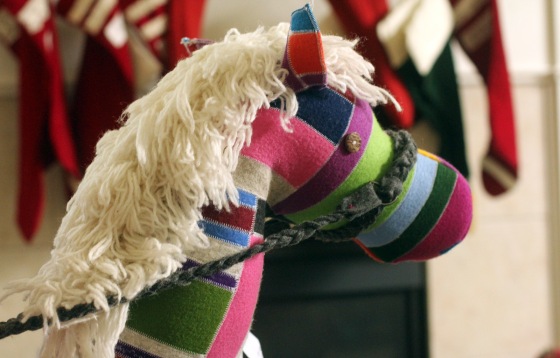
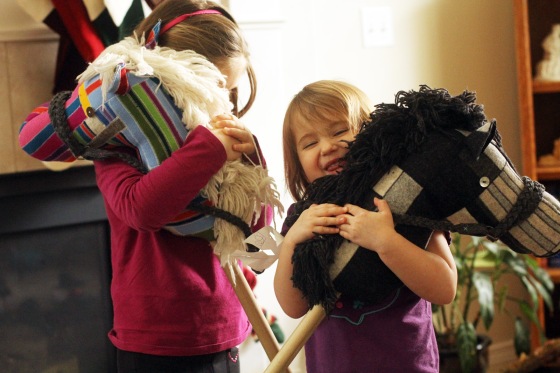
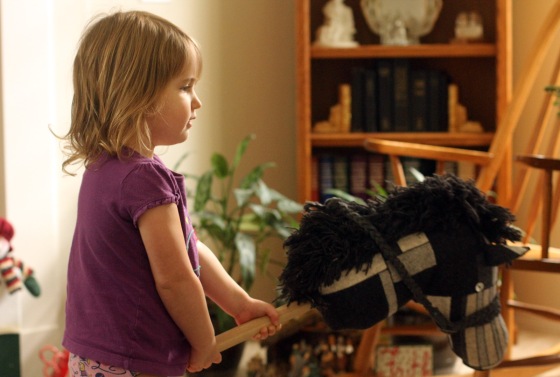
But this year, I have no immediate travel plans. In fact, we might not board  flight the whole year. But that’s okay. We’ve entered a new phase of our lives as a family of five, and we’re settling into it, for the next little while, at least. Anyways, enough talk. Here is a project that I started a year ago, and I’ve just now finished it up. Some scrappy felt hobby horses. IMG_6426 IMG_6400 IMG_6411 IMG_6416 IMG_6419 IMG_6422 IMG_6426Oh, you say you’ve seen this before? Well, you have. But, in case you were interested in making your own, I made a second one (well, I had to anyways, because I pretty much have to make two of everything these days; luckily sweet girl number three hasn’t demanded too much crafting from me yet) and decided to make a tutorial for you guys. 

(Just so you know, it took much longer than I expected it would to put this tutorial together, and I’m sorry if there are any errors; pattern-making isn’t my forte.)

Here we go.

Materials:

  • Felt scraps (a whole lot, in squarish shapes, are best; of course, you can always use whole pieces of felt or really any material you’ll want) You’ll need enough to make approximately a 2-foot square piece of material to cut your pattern pieces out of.
  • Stuffing (I prefer wool for quality reasons, but whatever you want is fine)
  • Thread (you’ll want some heavy-duty stuff, especially for hand stitching on the eyes, ears, and finishing the closure)
  • Buttons for the eyes
  • A 1-inch thick dowel, about 3 to 5 feet long, depending on how tall you want your horse to be.
  • Yarn in a coordinating color
  • Freezer paper (for tracing your pattern, it’s my favorite way to cut out felt)

Tools:

  • Scissors and/or rotary cutter
  • Sewing machine
  • Cutting mat
  • Iron
  • Stiff cardboard or a book, about 5 inches wide and 8 inches long.

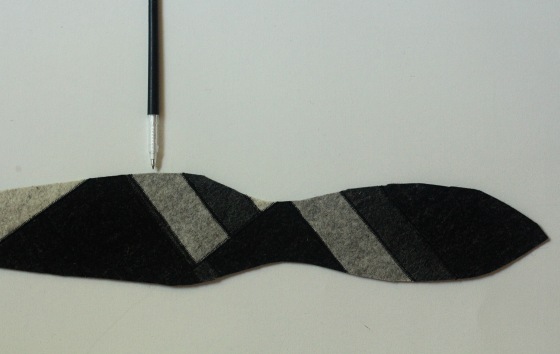
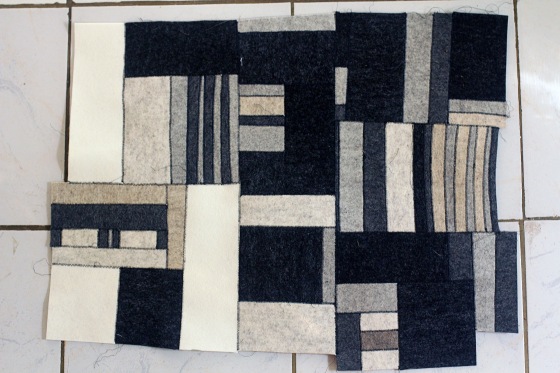
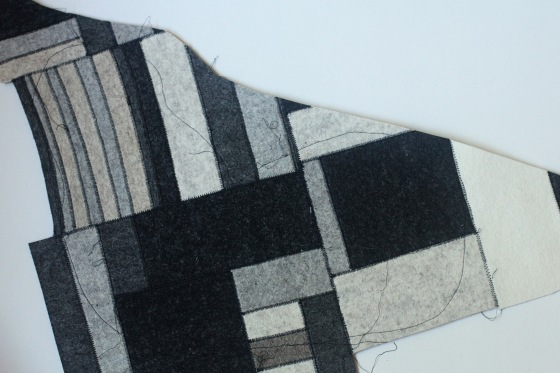
Make your scrappy piece of felt (if you are using a solid piece of fabric or felt, you can skip this part)

  1. Basically, you will be butting up two pieces of felt together and zigzagging over both sides so that the two pieces become one. (See this post for a better explanation)
  2. As you go along, continue building up your scrappy piece with more pieces. I like to make several scrappy blocks and then sewing this big blocks to each other to make your big piece of fabric.

IMG_3149 Cut out your pieces.

  1. Print the template. Click on these links for the four pages of the template: gusset gusset 2 horse neck 1 horse neck 2
  2. You’ll need to choose “print” under the tools menu. I am not a professional pattern maker, so these may look a little rough, but hey, it’s a free tutorial.
  3. Cut out you’re pieces and assemble the ones that are in segments.
  4. Then, you’ll want to trace your pattern pieces onto freezer paper (ignore the big notch in the horse’s head down in that picture, I was just using a scrap of freezer paper and it didn’t all fit). The long gusset piece is a little extra long to give you some wiggle room when finishing off the opening for the stick, so just keep that in mind.
  5. Arrange your pieces on your felt. I only drew out one horses head, and cut two the same way, since there is not “wrong” side to my felt piece, I could just flip the cut piece and it was fine. If you are using material with a right and wrong side, make sure to do a reverse side of the horses head, too. When arranging your pieces, try to leave about 1/2-inch in between the pieces for your seam allowances.
  6. Once you like the arrangement, iron one of your freezer paper pieces down to the felt.IMG_3164
  7. Baste stitch all the way around your first piece. This is  your way of transferring your pattern to your fabric.
  8. Cut out your first piece, leaving a 3/8ths inch margin around your basting for seam allowance. You don’t need to be too careful about getting perfect seam allowances; you will use the basting to guide your final stitching, not the seam allowances. The gusset piece includes the seam allowance, so just skip the basting and cut right along the pattern piece. IMG_3175
  9. Continue this process of iron-baste-cut for your other pieces.

Now for the mane.

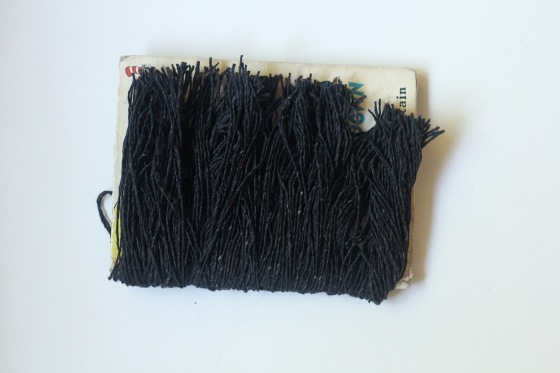
  1. Wrap your yarn around some stiff card board, or a book. It should be about 5 inches wide and at least 7 inches long.
  2. Wrap it a lot, but if you find you still need more yarn for your mane, you can always wrap more, so don’t worry about it too much. IMG_3178
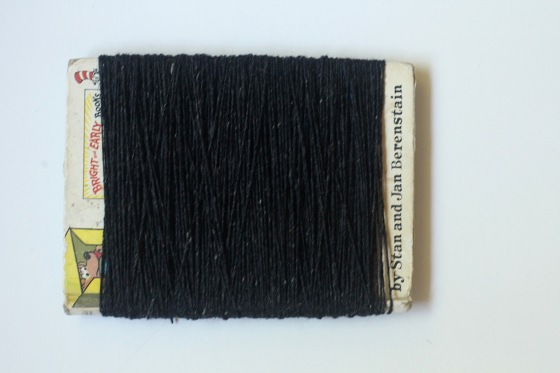
  3. Now cut the yarn along to top. IMG_3184
  4. Then cut along the bottom. This will give you a bunch of yarn approximately the same length for the mane.IMG_3186
  5. This picture is to show you about where on your gusset piece to start sewing the mane.IMG_3195
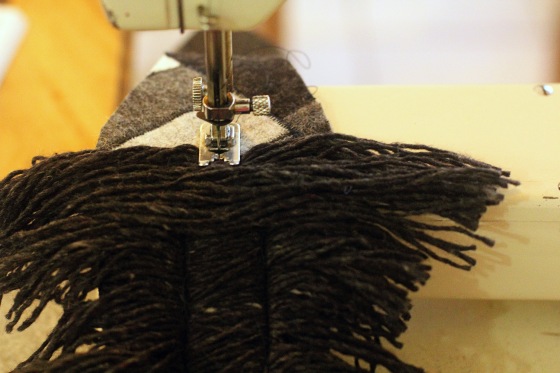
  6. Now sew the yarn down. Start with about an inch bunch of yarn. IMG_3200
  7. Using a small stitch length, start sewing the yarn, about 3/4ths of an inch in from the edge of the gusset. Continue to add more yarn, a couple inches at a time, and sew all the way down till about 4 inches from the bottom of the gusset piece. You’ll want to use about 2/3rds of your cut yarn for this. IMG_3206
  8. Then sew down the other side of the gusset over the yarn, about 3/4ths inch from the left side. IMG_3209
  9. Now finish by sewing 1-inch bunches of yarn right down the middle of the gusset.IMG_3213
  10. When you are done sewing, it will look like this:IMG_3217
  11. Yes, not very mane-like, but never fear. Just start to mess it up with your fingers, and hey-presto, you’ve got a nice full mane going on. IMG_3223

Sew your horse head together.

  1. Okay, here’s where I apologize for the lack of great explanation and pictures for this step. But hey, it’s a free tutorial, so you get what you pay for, right? (nervous laugh) Generally, you are going to sew all the pieces together, right sides together, leaving the bottom of the neck open, and then turn the whole thing out. This is how I did it. I pinned the one side of the horse’s head  to the gusset. The pointy part of the gusset will sit about where the little notch is at the bottom of the mouth, and the rest just follows along the top part of the horses head. Make sure when you pin, that you have the side piece facing up, because you will want to sew along your basting stitch. Also, make sure you have all the yarn from the mane tucked out of the way where you are going to be stitching.
  2. Sew from the tip of the gusset to the bottom of the horse’s head, but don’t sew all the way to the end of the gusset piece. Try to follow your basting line as close as possible. IMG_3228
  3. Now line up the other head side so that it is in about the same position as the sewn side of the head, in relation to the gusset piece, pin, and sew. (Again, follow the basting stitch, and make sure to keep the yarn from being trapped underneath your stitching.
  4. Now, pin the bottom side of the horses muzzle and neck together, feeling to see that the basting stitches of the two sides line up as closely as possible. Sew from the point of the nose gusset down to the bottom of the neck. Actually, I started by sewing about an inch from the end of the nose gusset, up to the point, because starting the stitching with all those layers is hard on my machine. It’s easier for me to get the machine going before powering into that thick part. Then I turned the piece around, and sewed down the bottom of the muzzle to the end of the neck. IMG_3232
  5. Leave about a 4-inch opening in the bottom of your horse head. This is approximately what you’ll have:IMG_3235IMG_3238
  6. Now reach in, grab the horse by the nose and gently turn it right-side out.IMG_3249
  7. Here’s your horse all sewn up.IMG_3254

Finishing your hobby horse. This part happened right before we moved back to the states, so the pictures didn’t really happen as much.  Sorry about that.

  1. First, I transferred the pattern pieces for the ears to the felt using the basting technique I mentioned before. IMG_3241IMG_3242
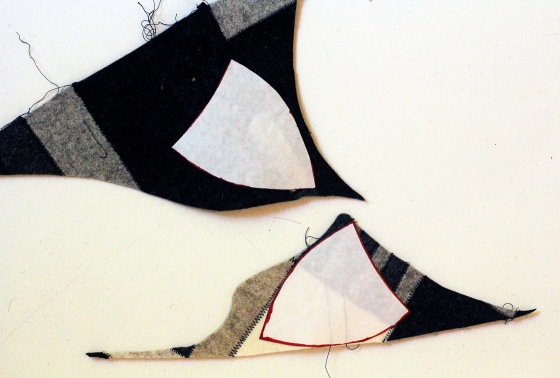
  2. Remove the freezer paper. Then zig-zag stitch all the way around the piece. Then cut it out right next to the zig-zag stitch. IMG_3247
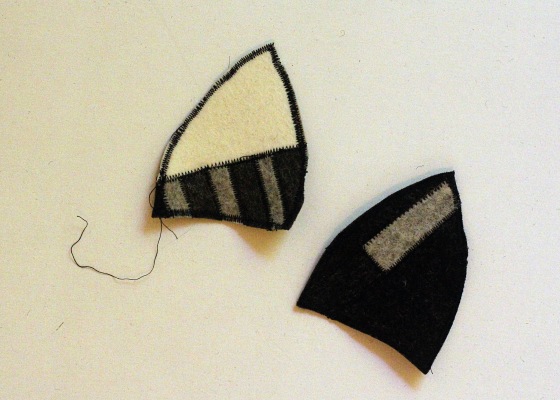
  3. Now here is where you have options. You can leave your ears flat and stitch them on, or you can stitch the bottom corners together and then whip stitch them on kind of sticking out, like I did.
  4. Sew the eyes on like you would any button. Make sure to make it really strong, because little hands will be rougher than you expect.
  5. Stuff that thing. I mean really stuff it. I filled mine with some wool, but you can use fiberfill or whatever you like. I packed the wool in really tightly. Once you get fill to about in line with the bottom of the chin, go ahead and stick the, well, stick, up in there, and pack the stuffing around it. I didn’t use any adhesive or special tricks to get the stick to stay stuck, I just packed the filling tight. Yes, your kid can get it out, but you just stuff it back in, if that happens. If you’ve packed it tight enough, a hollow space for the stick will remain if the stick is removed, as long as you don’t crush the head down after removing the stick. Does that make sense? Hope so.
  6. Finally, you’ll want to slip stitch up the bottom. I just tucked any loose ends in around the stick (if the end of the gusset piece is really long, you can trim it down). Then I slip stitched with heavy-duty sewing thread up and down both sides of the opening to make sure it was really secure. (For some pictures and further explanation of the slip stitch I used, see this post.)

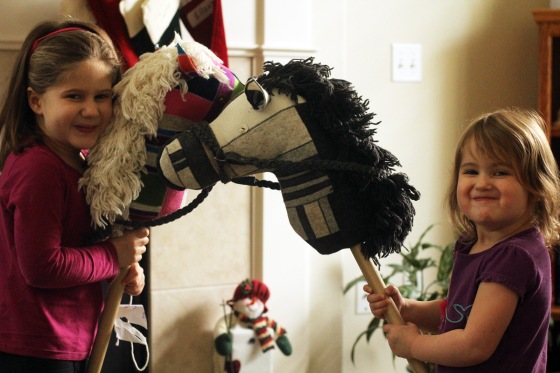
Here they are, ready to ride. You may notice those dandy little felt bridles (my favorite part of the whole project, go figure). Well, those are just some long pieces of felt that I magic braided (but really, you can just regular braid some felt and stitch the end so it stays braided) and then fashioned into a simple loop and halter piece. The d-shaped loops are optional, but they sure add a feeling of authenticity. IMG_6425 IMG_6406Enjoy! Seriously, you might want one for yourself. You’ve been warned. IMG_6412 IMG_6418 IMG_6429
Have a great Wednesday!

One Year

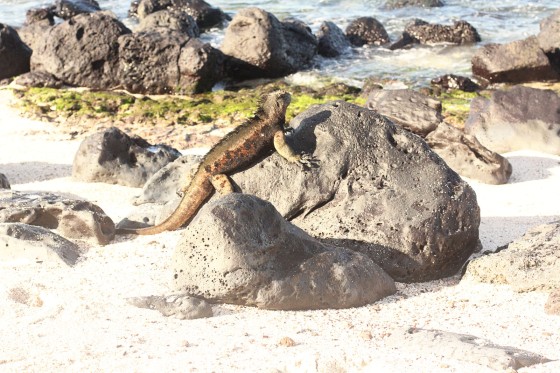
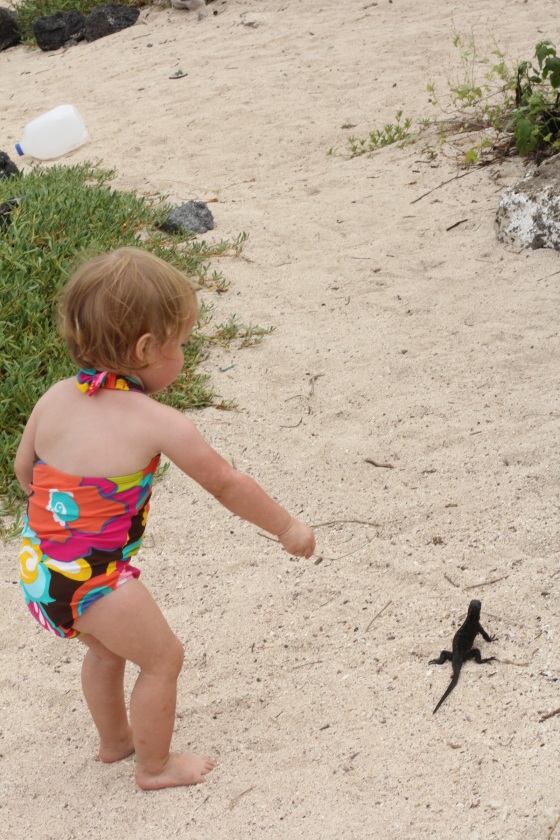
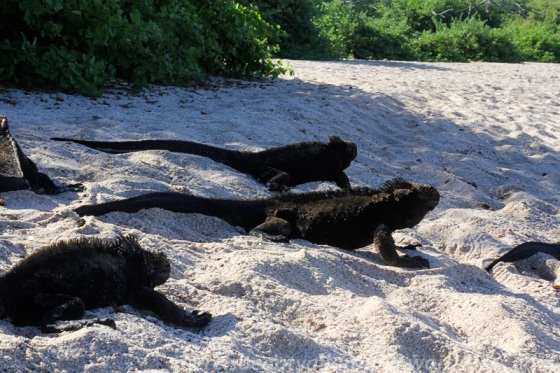
One year ago we moved to San Cristóbal in the Galapagos Islands. I can’t believe it has been that long. Of course, we’ve only lived on the island for about 7 of those twelve months,  because 5 months of that were spent trying to figure out residency rules, etc., and also a month-long trip home (Oregon) for Christmas. So maybe that’s why it doesn’t quite feel like it’s been a year. Anyways, to celebrate our anniversary  I thought I’d share some pictures of one of my favorite Galapagos cohabitants. from a distancecloser


iguana close up


walking away 2


walking away

profileHave a great day!


Sea Lions


I thought maybe it was time to do another little feature on this crazy beautiful island that I live on. One of the most conspicuous elements of our island are the sea lions. They are everywhere. Sleeping, fighting, barking and belching. They overrun the playground, occupy most of the benches, block pedestrian bridges and lounge in the streets. As you can imagine, they create quite a bit of trouble for the residents here, but they also add to the magic of the place, in their own way. Here’s a quick look at them. 

Have a great weekend!


Oasis

It is the cold, dry season (technically winter, if you want to give it a name) in Ecuador. Everything is brown and bland and a little sad looking. On the long bus ride to the shopping center, we pass acres of parched, barren land that only a few months ago had been green and fertile from the generous rain. It’s an “add water and watch if grow” type of place. So it’s no surprise that in the few parts were people try to cultivate the land, they meet with fairly easy success. That’s how a little farm came to be, cropping up in the two-year lapse between our second and third trip to Ecuador. They carved out a spot of land in the relative middle of nowhere, bordered on one side by a narrow road that happens to be the short-cut route the taxies take between Libertad and Ancón. So we would pass it regularly after our weekly shopping trips. They had horses! For Isabella, it was the best part of the shopping excursion, that brief glimpse of living, breathing horses.

So can you imagine our excitement when abuela found out, quite by accident, that the little ranch belonged to the family of one of her former students? It was totally meant to be. Only a few days after the discovery, we made a short jaunt to the finca (farm) to check it out up close.

It did not disappoint. A personal play structure. Puppies (multiple!).  And a gigantic dog. Two dozen baby chickens. Geese. More chickens. A cabybara (world’s biggest rodent; they’re raising it to eat—creepy and cool at the same time).

And horses of course.

When we first arrived, this little colt was tied at the ankle to a post, but she wasn’t too interested in that. A couple of kicks and she was free.

 The owners were very welcoming. They showed us all around there lovely farm. There was a mother hen with forty chicks! They were kind of funny looking chickens, too, with bald heads and a big ruff collar of feathers around their necks.

There were some geese.

And even a capybara, the world’s largest rodent. I guess they caught is somewhere, and are fattening it up to eat if. Hmm. Very interesting. 

The girls got to pet the horses. Isabella was gentle and soft with the colt. Sofia gave the colt one good smack and it took off running, stepping on the handler’s foot in the process.

The mother horse was very obliging. My toddler was thrilled beyond expression with her private riding session, and she acts like an old pro. Is it too early to start training her for the equestrian event in the Olympics? How cool would it be, she could win Ecuador’s 2nd gold medal, in anything, ever!


I’m so grateful for kind strangers! Thanks for make these little girls’ (and their mami’s) day!

Whale Watching

Here’s how life has been since I wrote last. Sick, whale watching, sick, sick, a little less sick, shopping (this is an almost all day chore), finally feeling better. And then I woke up bright and early Wednesday morning with nary a sniffle, with every intention of getting a good chunk of blogging done, when the power went caput. Three hours later, the power is back, but the internet was out almost the whole day. Since I don’t speak the same language as the computer guys (literally) there wasn’t much for me to do except wait for someone to come and help with it.

But now, did you catch that whale watching part in there. So awesome. It almost didn’t happen, too. My sweet little girl threw up her breakfast en route to the beach, and then the tour was pushed back and hour, and then it was delayed another 45 minutes as we all waited on the handicapped boat for a new battery to be brought out and installed. But all of that was forgotten once, after a mere 5 minute boat ride, we arrived at the watery stage of 4 whale performers.

The girls loved it though, besides feeling a little cranky for missing a nap.

The pictures are completely inadequate compared to the experience. These pictures have a little of the Loch Ness monster aesthetic going on, sorry. In fact, I wish a little that I could have just watched without worrying about catching it on film. There were four whales surfacing for air, and then raising their tails out of the water.

One whale even jumped out of the water; I was, unluckily, looking away at just the wrong moment, so I missed it, but I caught the big splash.

And then there as a whale doing rolls and splashing with its front flippers. But the most thrilling part for me was seeing a whale underneath the water swimming right under the front of the boat and then surfaced a few meters off.

And hearing them making their whale sounds. That was pretty great, too. Of course, the girls were beyond cranky after it was all over, but overall, I loved it and would definitely do it again.

Have you ever been whale watching? How did it go?

A Longer Explore

As I may have mentioned more than once, we are living on the island of San Cristóbal in the Galapagos Islands. It is one of four populated islands in the archipelago, and it is not the most populated. That honor goes to Santa Cruz, which I had heard had a bustling port city of no small size. Joel and I visited Santa Cruz four years ago, but most of the memories I had about the size and situation of the island were effaced by my recent experiences in San Cristobal. Well, this last weekend, we returned to that island, and I was surprised by how much I actually remembered, and how much had changed. It is a very busy city compared to our sleepy San Cristóbal. I was positively homesick for our island after passing a sleepless night in listening to trucks and scooters passing noisily by our hostel window, to the congregating of dozens of dogs holding a midnight meeting in the street, and to a few boistrous tourist and townspeople staggering in the dark back to their dwellings.

But I’m getting ahead of myself. First, I should say that our primary purpose for traveling to Santa Cruz was to attend our church. Unfortunately, there is not a congregation located on our island, so we have been on our own for the last few months. We finally got up the courage to try the two-hour boat ride to Santa Cruz, where the local congregation meets.

Early Saturday morning, we set out on the Osprey, a fairly spacious vessel, with the group of British kids from the Hacienda Tranquila, who had booked passage on the same boat. Everything started out great. Isabella and Sofia were riveted to the windows for the first 45 minutes of the voyage. But their enthusiasms soon began to wane, and was then altogether replaced by a general malaise. Then all at once, sea sickness set in, and the poor little girls took turns, in close succession, of necessitating the application of a plastic bag and gobs of toilet paper to their aid.

Anyways, we were very glad to be back on dry land. We had not arranged lodgings for the night in advance, but that is no major problem on the island since there is always someone eager to fill up their rooms. We hadn’t even left the dock before finding a person to conduct us to a nice little apartment that they rented out to tourists. We changed into our swimsuits, slathered on the sunscreen, and took off in the direction of the Darwin Research center, home of Lonesome George.

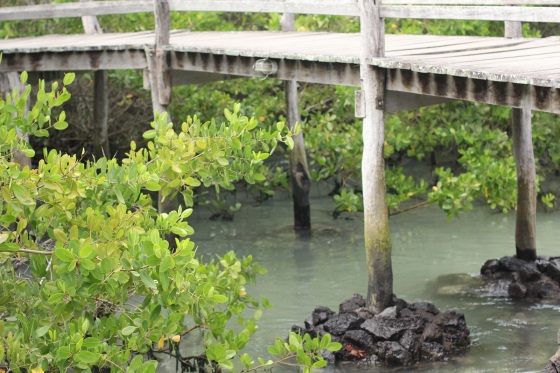
Along the way, we there were plenty of fun things to see. Like a bridge through the mangroves.


And a fresh fish market with all the usual fish stalkers.

A friendly sea lion.

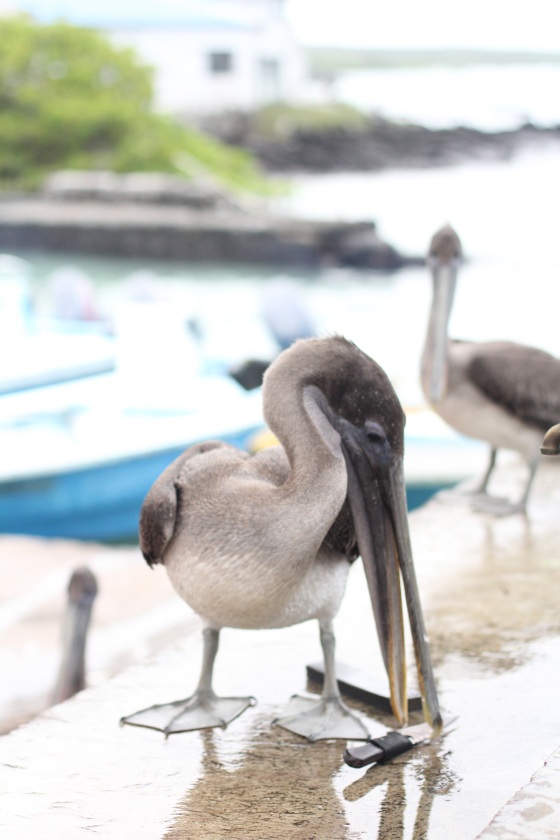
Pelicans young

and old.


And a surly booby. It’s not the blue-footed variety, and when I went to google it so I could perhaps look up the name of the correct variety, I got half way through typing the word before I realized that might not be the best thing to carelessly look up on the internet.

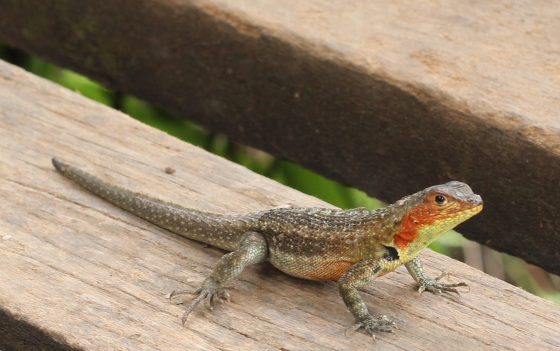
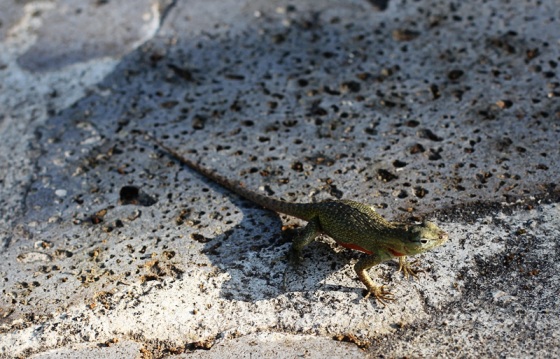
As we got closer to the center, we ran into some more iguanas and some fun little lizards. They must be cousins of the ones who live on our islands, because they have red patches in the same place, but it’s a different shade of red.

This was my favorite iguana. He just had a unique personality.

Almost as soon as we walked inside the center, we saw these big guys waiting for us.

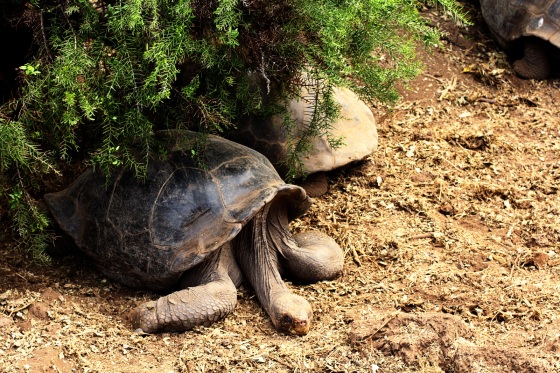
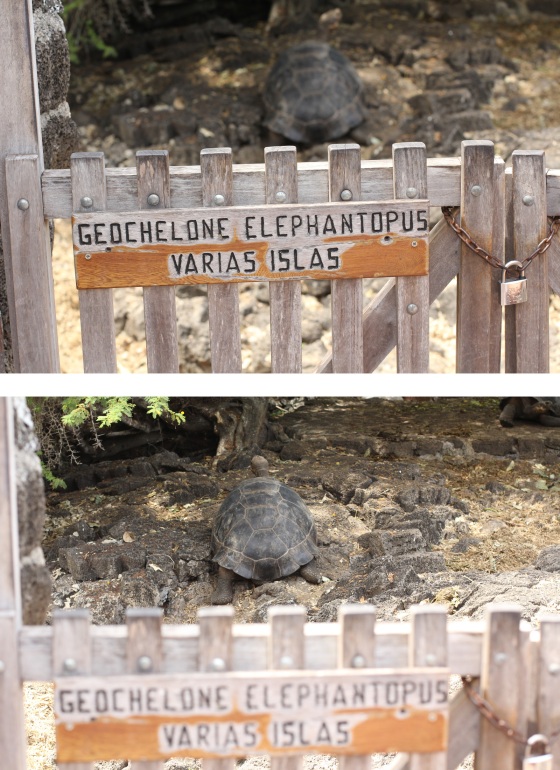
Unlike our visit to the galapaguera on San Cristóbal, there are giant tortoises to spare at the Darwin Center in Santa Cruz.

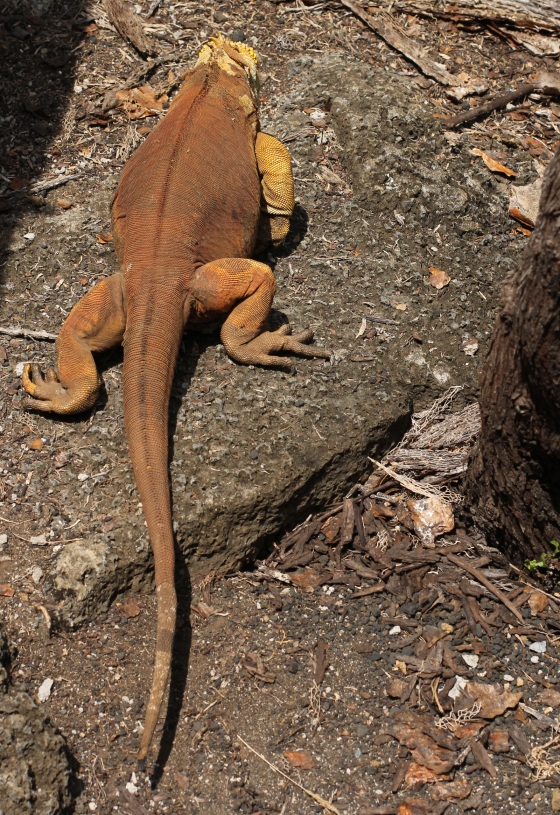
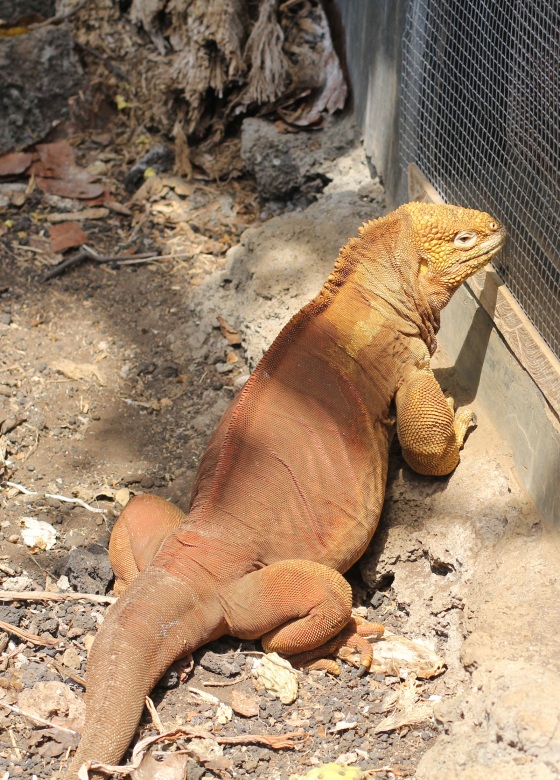
And no less exciting were the giant land iguanas with flaming orange skin.

Lonesome George was napping in a cave, so we didn’t get to see him. We’ll just have to try for our next trip.

And there is also a small beach conveniently located there, for a cool dip after all that walking in the sun. The best part were the baby iguanas.

=

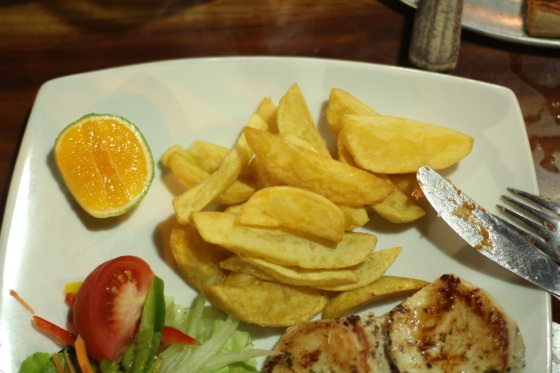
For dinner, we went to the same restaurant that Joel and I went to four years ago, and we ordered the pizza again. It was much better than I expected, probably because I didn’t make the mistake this time of ordering salchicha, which I mistakenly thought was sausage. Hot dogs cut up and sprinkled on a pizza is a thing that should never be.  I also got a plate of fish, and I just wanted to show you this lime, which was green on the outside and orange on the inside.

After dinner, we went to the park, which was packed with children, doing all sorts of crazy fun activities that are banned from US playgrounds. I wish I had taken a picture of the rope basket swing that had a swing-span of 15 feet and was reaching almost the level of the swing’s pole at its peak height. There was also a little slide shaped like an elephant, and Isabella and Sofia were going nuts sliding down the trunk of that thing. It made me feel a little sad about the dilapidated state of the parks we have here on San Cristóbal.

We woke up early Sunday morning (earlier than I would have liked, but my girlies just don’t know how to savor a good sleepy Sunday morning) and got ready for church.

The church building is nice, and air conditioned, and the people were very welcoming. All in all it was an excellent experience. If it wasn’t for the girls throwing up the whole way there, I think we would try to come at least monthly. But I just don’t know if we can do that to them every month.

After church we had a little time to wander around and then we made our way back to the dock. I just snapped a few more pictures before it was time to go.

The boat ride home was super crowded and hot, but the girls slept most of the way and there wasn’t any throwing up, so we’ll call it a success. I was certainly glad to be back home. Santa Cruz is a lovely island with many charming spots, but I’m so glad we’re living on San Cristóbal.

Inspiration: Spiders

Okay, I have to start by saying that I am  major arachnophobe. I’m getting a little more comfortable with them here, since they are EVERYWHERE, but only if they are at a distance. There are some monster big ones that make me shudder. The web-spinning spiders here are quite fascinating, though. I think their delicate patterns are quite lovely, actually.

Have a wonderful Wednesday!


Good Morning, Galapagos

So I promise to get back to more creative-minded once things have settled down a little bit and I actually have a work-space again. For now, my big suitcase of craft supplies is wrapped in several layers of plastic wrap (it’s what they do to prevent theft-en-route down here), and I know that if I tear into it, even if just to retrieve my drawing pencils, it would be like unleashing Pandora’s box in this tiny temporary living space, and I just can’t do that to my sweet patient husband.

That’s the long way of telling you that I’ve only got more photos to share with you today. We’ve been taking a lot of walks before Joel goes to work. The sun and, coincidentally, my children rise early (before six) every morning, so we’ve found ourselves with several free hours to enjoy before the real labors of the day begin. Fortunately, we have several lovely beaches within walking distance.

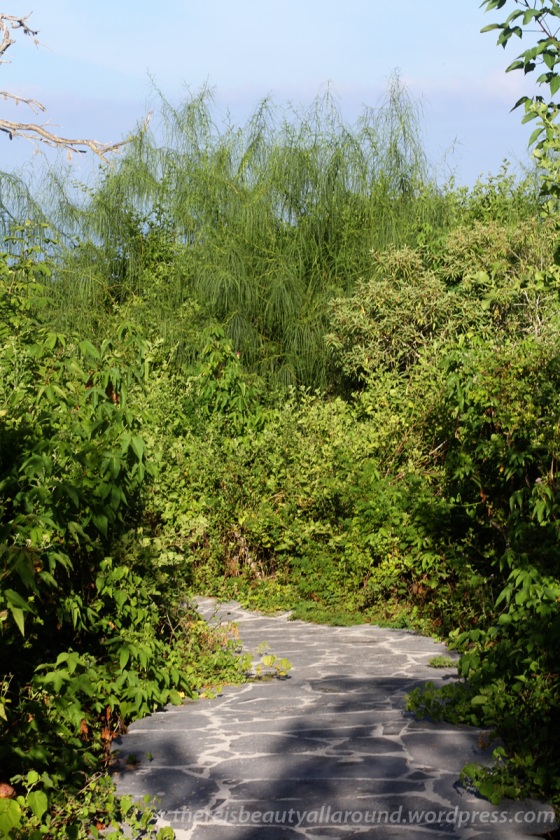
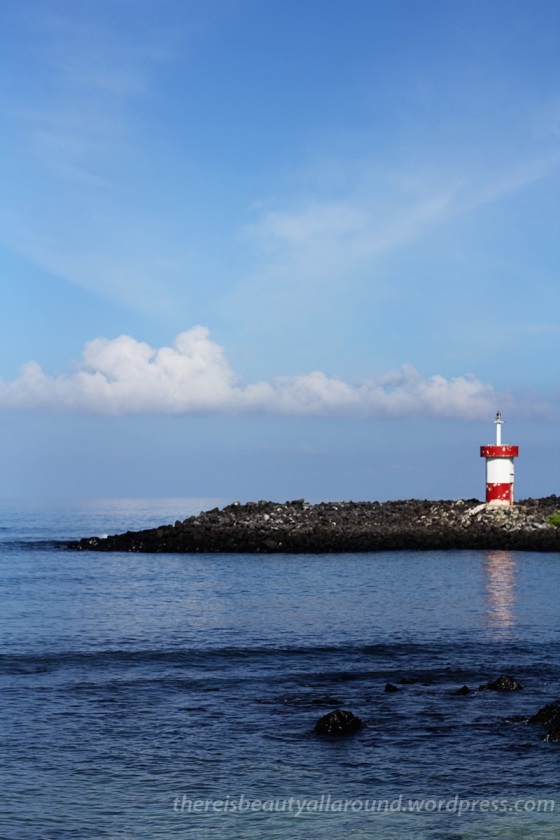
Here’s a little peak at a bright and early Galapagos morning.

Down the hill to the beach.

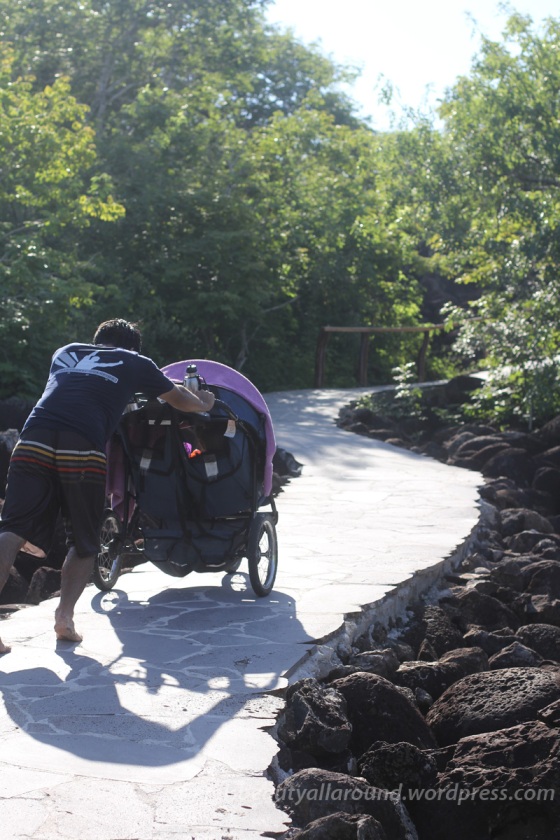
And back up the hill to home.

Inspiration: On the Wings of a Bird

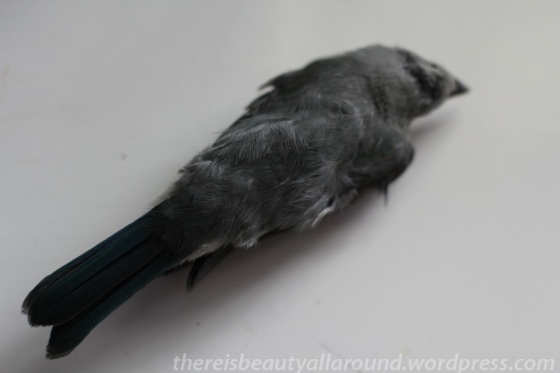
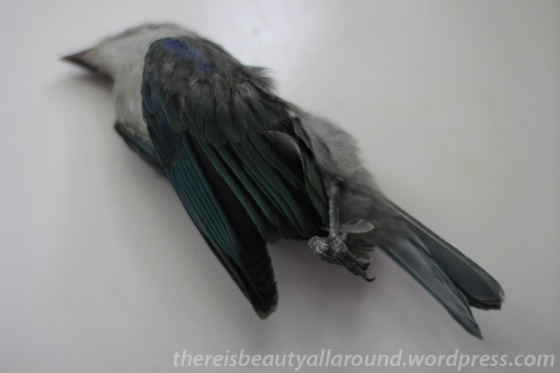
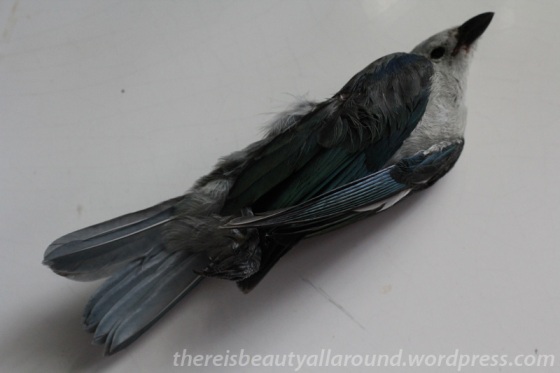
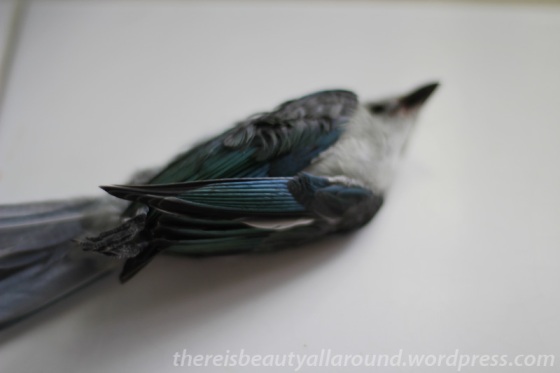
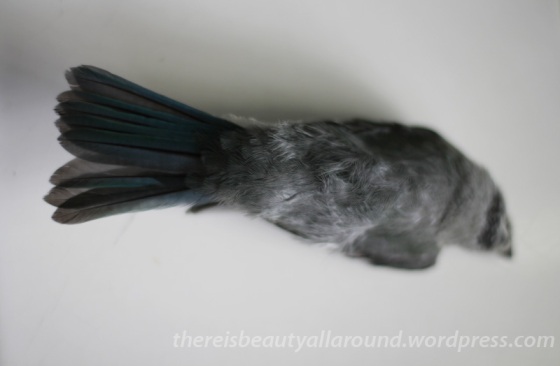
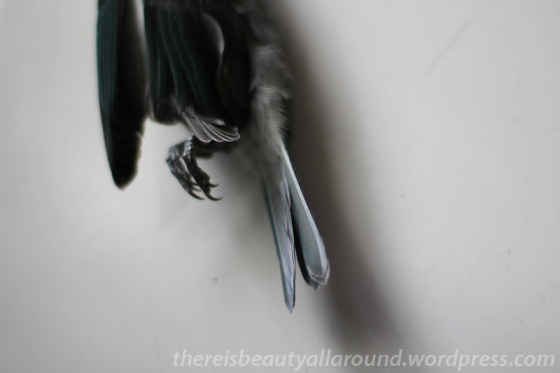
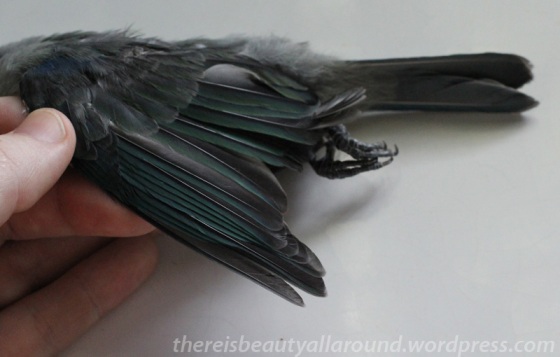
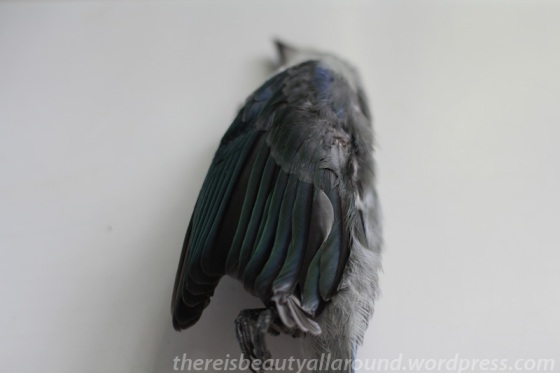
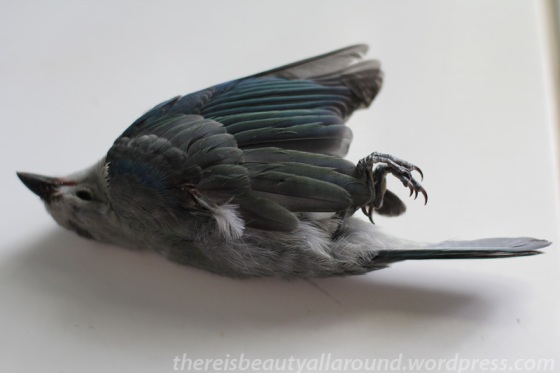
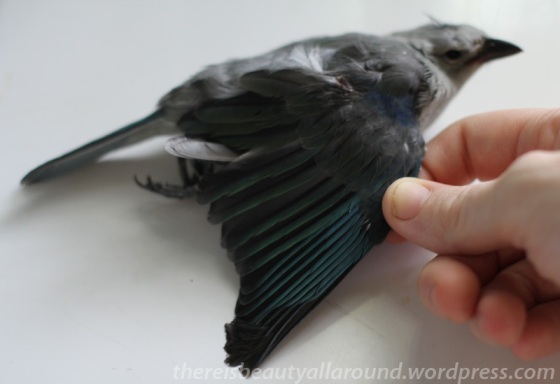
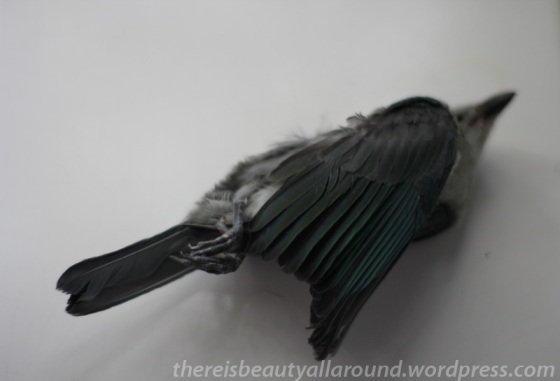
Just a brief disclaimer: This post contains pictures of a dead bird. As far as I know, the bird died of natural causes. I do not think any of the following pictures are disturbing or graphic, but if you do, please excuse them. My intent is simply to share a little piece of beauty that I happened upon by chance.

At my in-laws home in Ancón, Ecuador, we see many different kinds of creatures, but my favorite has always been the blue birds that come to share a bite or two of the bananas or plantains that hang in bunches outside the back door. They are smaller and more streamline than the blue birds in the states, and their shade of blue, to me, is more exquisite than their northern cousins. It’s always a brief source of joy to see them flitting about the yard, their blue wings dazzling in the bright equatorial sunlight.

So imagine my surprise when, one Sunday afternoon, I stepped outside and found one of these little birds lying motionless on the ground. At first I didn’t know what to do. It was whole, and seemed unhurt, so I couldn’t understand why it was not flying away. I gently scooped it up in a plastic bag and inspected it more closely. It was surely dead, but besides a small trickle of blood near that beak, I couldn’t see any indication of fatal trauma. My mother-in-law suggested that it had probably gotten confused and flown into the brilliantly white-washed walls of their cinder-block home, and I think this explanation is probably correct.

In any case, I was fascinated with the tiny, pristine creature. I instantly thought of the beautiful watercolors of birds wings by Albrecht Dürer, particularly this one. I wanted to make some paintings of this little fellow, but as you may have deduced from my lack of blog activity, my life has been in constant flux the last month, and pulling out my watercolors was nowhere near feasible. So I did the next best thing. I photographed the heck out of this lovely little bird, hoping to capture just a glimpse of the startling beauty that I found in it. Some pictures come close, but I think the dazzling iridescent blue was too illusive for my camera’s eye. Regardless of the shortcomings of these photos, I thought I would share a my in-depth photographic observations with you. Enjoy.


Okay, so I realize there are probably zero people who are interested in seeing that many pictures of a dead bird. So if, somehow, you made it to the end of this post, lucky you! Just leave a comment, and I’ll chose a winner to receive their very own dead blue bird in the mail. Nope, sorry, I’m totally kidding. That definitely crosses the line into creepy. Don’t worry, after I was done photographing him, I laid this little guy to rest under the mango tree in the back yard. It’s peaceful there, and he’ll always have plenty of shade. Rest in peace, beautiful bird.